How to use Node-RED option to connect your data flows to Live Objects
As you might know, Live Objects propose a node-RED option that enables you to access to a Node-RED tenant in a SaaS mode. This service allows you to build codeless data treatments, without caring of instantiating, hosting, neither fully monitoring it.
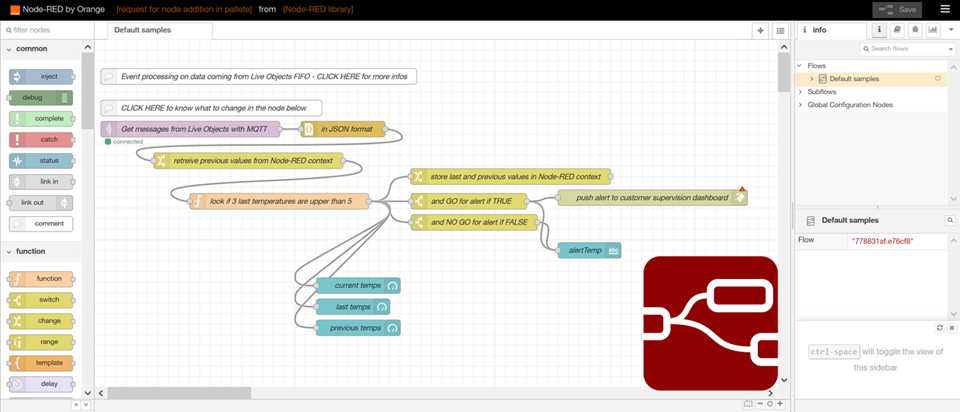
To adapt your Node-RED palette to Live Objects context, we now propose 6 new nodes that you can use in following ways to connect your flows to Live Objects:
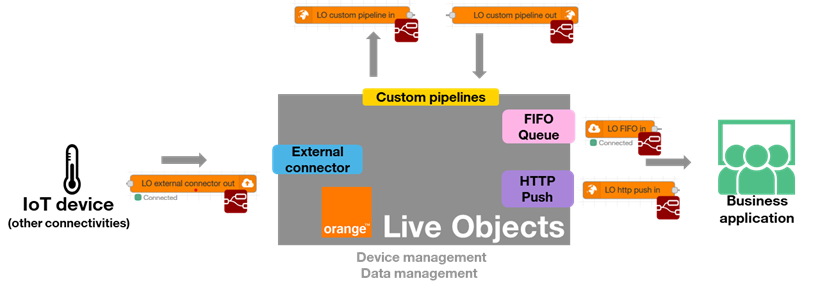
1- LO external Connector out: to connect your device using the external connector mode. So you can use it for example to connect devices that are using connectivity not natively supported by the platform to Live Objects after adapting the message format to that expected by the platform.
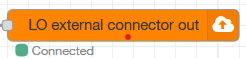
To use this node, you should configure:
- The API Key (that you can generate here using External Connector profile)
- External ID that will form the device ID while automatically creating the device on Live Objects
2- LO external Connector out – multiple: to send multiple message topics (or data from different devices) using one NodeRED node.
this node status is disconnected most of the time (It turns connected when new data comes). This node is recommended mainly for some specific use cases (cloud to cloud connectors for example).

To use this node, you should configure:
- The API Key (that you can generate here using External Connector profile)
NB 1: to enable this node to provision your devices in Live Objects, you should define well your message topic (for example: for the device myDevice, you can put msg.topic= ` connector/v1/nodes/myDevice/data) into your flow (using function node for example)
NB 2: to receive well data payloads on Live Objects, you should specify the device ID that is sending the message
3- LO Custom pipeline in: to receive data messages from Live Objects using the Custom pipeline feature to enrich/decode/transform them.
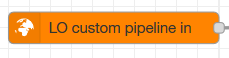
To use this node, you should configure:
- EndPoint name (that you will use also on live objects custom pipeline configuration)
NB 1: on Live Objects, you should configure your custom pipeline as following:
-
- URL : yourAPI-URI/yourEndPoint
- Header: Authorization
- Value: Basic yourNodeREDAPIKeyBase64
4- LO custom pipeline out: to resend data messages to Live Objects custom pipeline.
To use this node, you don’t need to configure anything.
5- LO http push in: to receive data from Live Objects using HTTP push. So you can use this node for example to connect your Live Objects to your business application.
To use this node, you should configure:
- EndPoint name (that you will use also on live objects HTTP Push configuration)
NB 1: on Live Objects, you should configure your HTTP push as following:
-
- URL : yourAPI-URI/yourEndPoint
- Header: Authorization
- Value: Basic yourNodeREDAPIKeyBase64
NB 2: your Node-REDAPIKeyBase64 is “node-red-api:yourNodeREDAPIKey” encoded in base 64
6- LO FIFO in: to receive data from Live Objects FIFO queue using MQTT protocol. So you can use this node for example to connect your Live Objects to your business application.
To use this node, you should configure:
- API Key that should refer to Live Objects API Key with Application profile
- FIFO Name that should be same as the FIFO queue name on Live Objects side
NB: on Live Objects side, you should:
-
- Create the API Key with Application profile
- Create a FIFO Queue
- Create a Routing Rule and choose the right data to transfer
So, if this new Node-RED option can meet your needs, do not hesitate to ask for an account here.
Also, you can take a look at our Node-RED tutorial here.
For more information, please check our cutom pipelines tutorial video and access to more Node-RED flows samples on our Github : https://github.com/DatavenueLiveObjects/node-red-Flows-samples-on-Orange-Live-Objects-data

 B2B "IoT enthusiasts" group
 Live Objects on GitHub
 Tutorials
 Orange Business